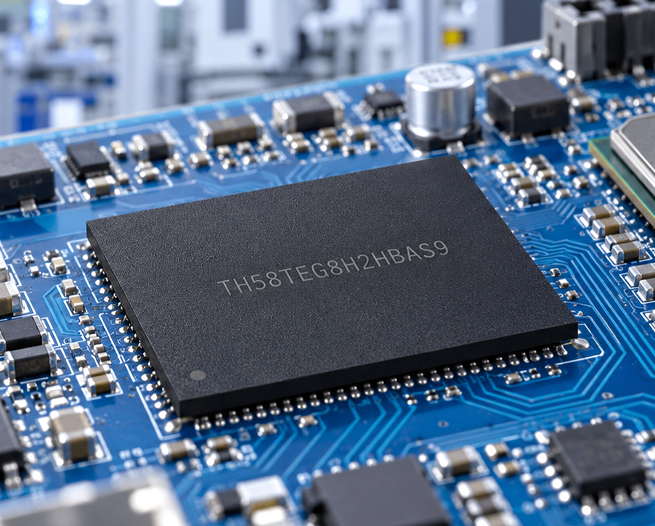
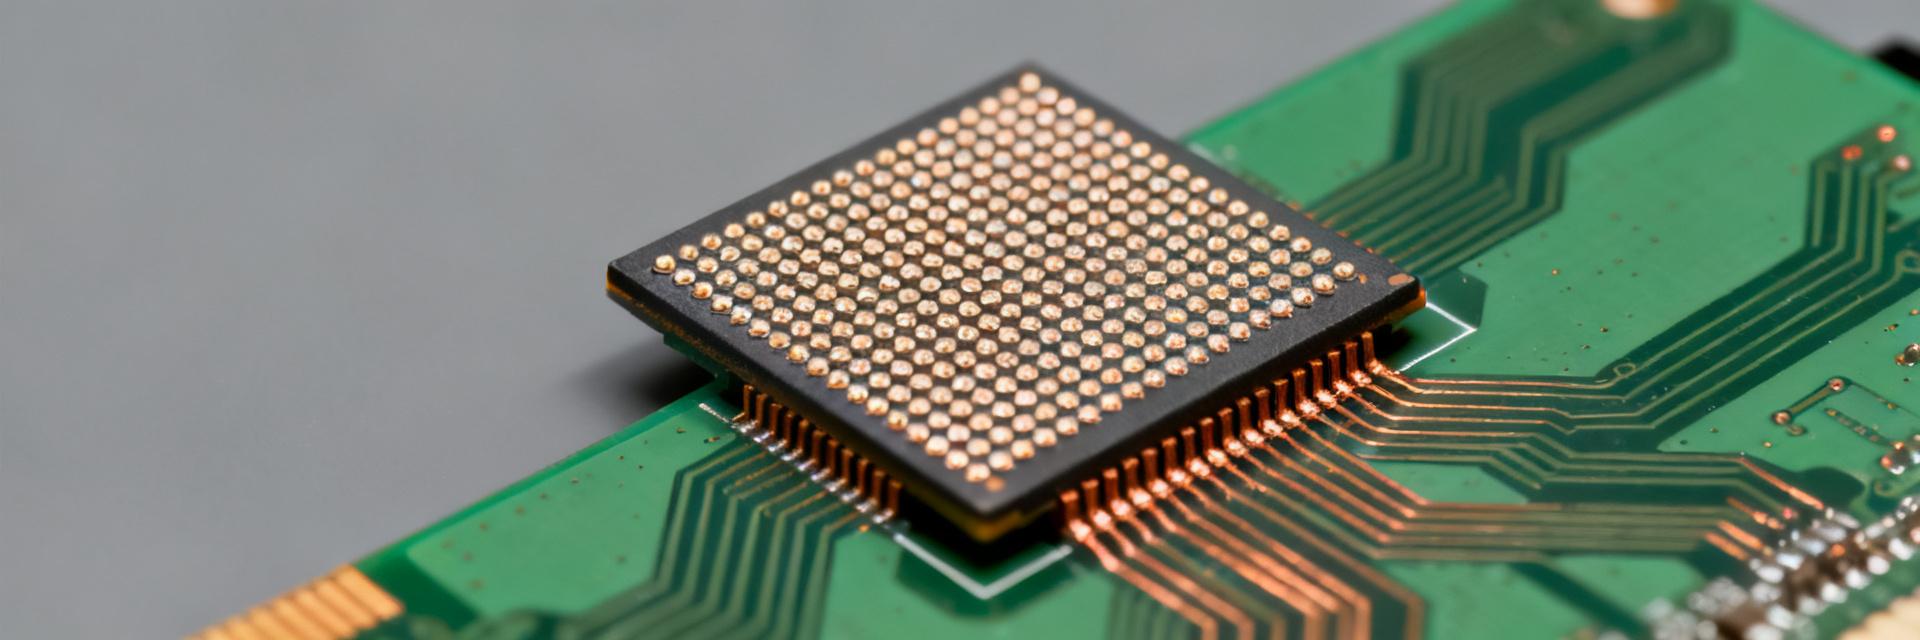
NT6TL128M32BQ-G0 Hoja de datos Análisis profundo: Especificaciones y disposición de pines
In modern mobile and embedded designs, low-power mobile SDRAM choices directly affect boot time, power budget, and sustained memory throughput. The NT6TL128M32BQ-G0 is a 4Gb mobile LPDDR2-class device that operates at sub-1.2 V rails and supports peak data rates up to about 1066 Mbps; this summary translates the official datasheet into actionable guidance for integration, testing, and layout. You will find concise explanations of which electrical and timing parameters matter most, how the pinout groups map to board nets, and the common integration pitfalls that prolong bring-up.
This deep dive references the datasheet tables and explains practical checks you should perform during schematic review, PCB layout, and system bring-up. Two explicit part references (NT6TL128M32BQ-G0) are included up front to anchor search relevance and ensure you can map the guidance directly to your chosen device. The following sections break the device into background/specs, electrical/timing constraints, pinout and package guidance, initialization sequences, and a practical troubleshooting checklist.
1 Background & key specs overview (Background introduction)
Quick-spec snapshot (1)
Point: Compact spec summary to orient architecture tradeoffs. Evidence: key figures below are distilled from the device datasheet tables. Explanation: capacity, organization, packaging, voltages, and rates determine controller choices and PCB constraints.
| Item | Value |
|---|---|
| Density | 4 Gbit |
| Organization | 128M x 32 |
| Package | 168-ball PoP / FBGA |
| VDD / VDDQ (nominal) | ~1.2 V / 1.2 V (I/O) |
| Data rates | 800–1066 Mbps |
| Temp range | −25°C to +85°C (typical commercial) |
| Standby / active currents | typical IDD0/IDD1 summarized in datasheet |
System impact: 4Gb at x32 yields a wide DQ bus reducing access cycles for wide transfers but requires controllers that support 32-bit lanes and corresponding command/address timing. PoP packaging simplifies stacking but imposes strict height and thermal considerations. Match the controller's I/O voltage tolerance to VDDQ and reserve headroom for voltage ramps in power sequencing.
Part variants & numbering notes (1)
Point: Variant suffixes indicate speed or temp grades. Evidence: datasheet variant table lists commercial and extended grades. Explanation: when you inspect part markings, cross-check the suffix against the variant table in the datasheet; speed grade differences commonly change timing parameters and temperature grades affect derating and PCB thermal planning. Pay attention to any variant-specific power limits that affect decoupling and copper area decisions.
2 Electrical characteristics & timing deep-dive (Data analysis)
DC electrical parameters (1)
Point: DC margins and decoupling are critical at sub-1.2 V operation. Evidence: recommended operating voltages and currents are defined in the datasheet tables. Explanation: track absolute maximum ratings, recommended VDD and VDDQ rails, and summarized IDD modes (IDD0/IDD1/IDD2). Use multiple localized decoupling caps (e.g., 0.1 µF + 1 µF per power domain) near VDD and VDDQ pins, place bulk caps on the rail, and keep decouplers within 2–3 mm of device pins. Monitor voltage headroom during ramp and apply temperature derating for safe margin during bring-up.
AC timing & performance (1)
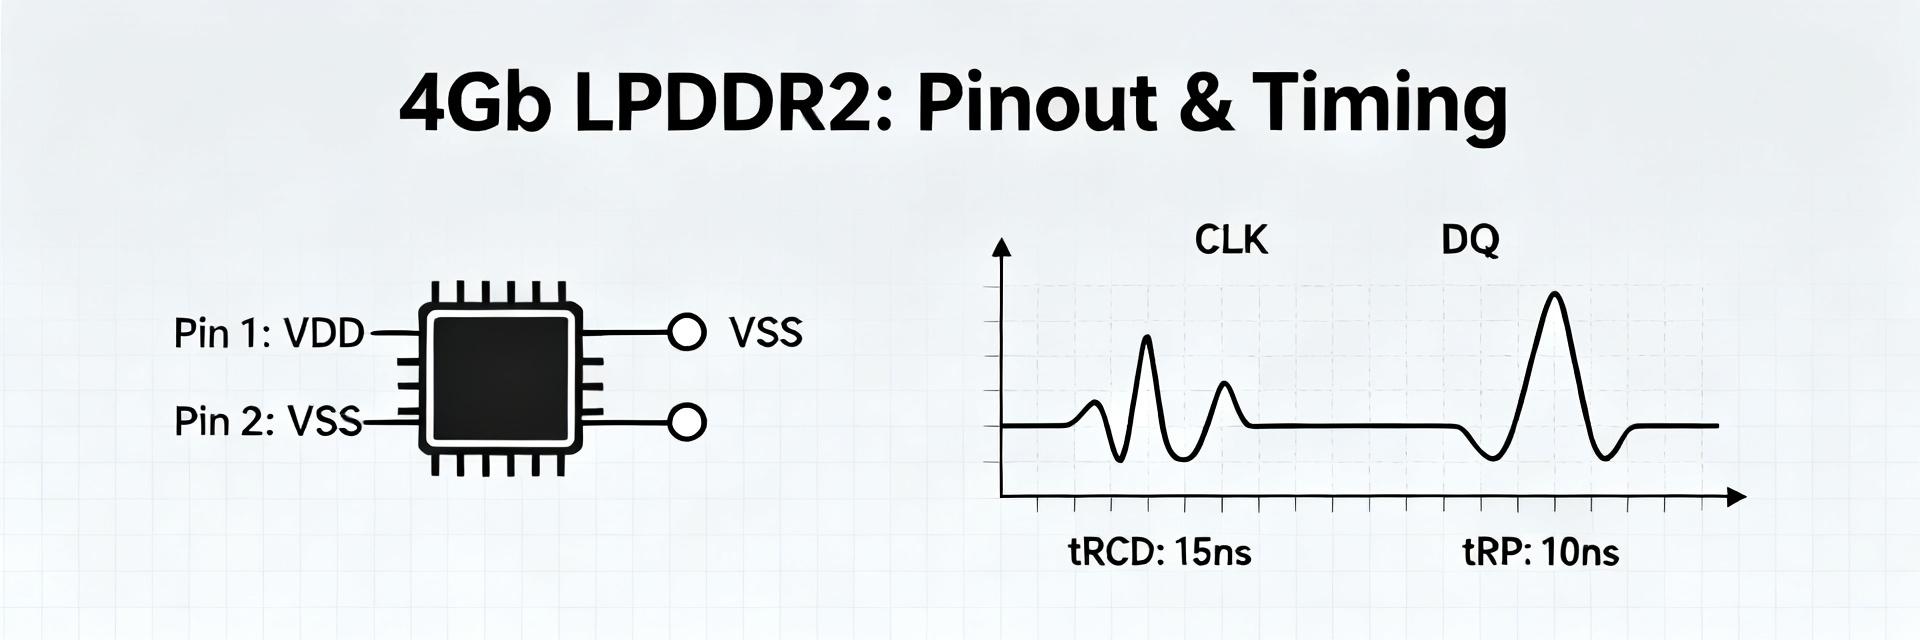
Point: AC timings determine controller configuration and observable signals. Evidence: datasheet timing tables list tRCD, tRP, tRAS, tRC, CAS latency options, and DQS timing windows. Explanation: configure clock range and CAS latency per supported data rate; verify tRCD/tRP/tRAS against controller defaults. On the bench, use an oscilloscope to check DQS capture window and command-to-data timings—align DQS to the center of data eye and confirm refresh interval compliance. The datasheet provides the timing budgets you must meet for reliable operation.
3 Pinout & package details (Method guide / Pinout)
Ball map & functional grouping (1)
Point: Group balls by function to simplify schematic net naming. Evidence: the package table groups power, address/command, data, DQS, clock, and control pins. Explanation: map balls into power (VDD, VDDQ, VSS), CA (command/address), DQ (data), DQS (data strobe), CK/CK# (clock differential pairs), and controls (RESET#, CKE). In your schematic, use net names like VDD_CORE, VDD_IO, DQ[31:0], DQS[7:0], CA[12:0], CK0, CK0# to keep consistency. Note special-purpose balls (test, NC) and mark them as no-connect or test per the datasheet pinout guidance.
Package & PCB footprint considerations (1)
Point: PoP footprint and thermal strategy matter for assembly and reliability. Evidence: datasheet recommends pad patterns and reflow profile constraints. Explanation: adopt the recommended pad pattern and solder-mask openings; avoid via-in-pad directly under BGA balls unless filled. For PoP stacking, reserve keep-out zones and thermal vias near power balls to improve heat spread but limit via count in critical signal areas. Follow the datasheet reflow curve for maximum peak temperature and minimize mechanical stress during assembly.
4 Initialization, command sequences & example integrations (Method guide / Case)
Power-up / power-down and reset sequencing (1)
Point: Correct rail ordering prevents latch-up and functional faults. Evidence: the datasheet prescribes VDD/VDDQ application order and tPOR. Explanation: apply VDD core and VDDQ to nominal levels with controlled slew, wait the minimum tPOR before asserting RESET# or applying CK. Verify rails for correct voltages and low-impedance paths; expect a specified delay before first valid access. During power-down, follow the reverse order and allow decay times to avoid charge trapping.
Example controller init & calibration flow (1)
Point: Firmware must program mode registers and run impedance calibration where applicable. Evidence: datasheet shows MR settings and ZQ procedures. Explanation: after power-up and stable clocks, program mode registers for CAS latency and drive-strength, perform ZQ/impedance calibration if supported, enable auto-refresh, and validate low-power entries. Checklist: set MR values, wait prescribed ns/µs between commands, and confirm calibration via DQS eye checks. Use scope probes to verify DQS alignment and calibration completion signals.
5 Practical checklist & troubleshooting guide for integration (Action suggestions)
PCB layout & signal-integrity checklist (1)
Point: SI rules directly impact data integrity. Evidence: wide DQ buses at 800–1066 Mbps require matched routing. Explanation: implement controlled-impedance traces for DQ/DQS/CK (typically 50Ω single-ended / 100Ω differential where applicable), match DQ/DQS length within specified skew budgets, minimize vias on data paths, keep separate power planes for core and I/O, and place decoupling close to device pins. Probe points near DQS and CK improve debugging access.
Common failures & diagnostic steps (1)
Point: Typical failures have reproducible debug flows. Evidence: common root causes include power sequencing, incorrect voltages, timing violations, and poor routing. Explanation: reproduce the failure, verify DC rails and power-sequencing timing, check clock presence and integrity, inspect DQS alignment and eye diagrams, and validate refresh behavior. Use stress patterns (full-width writes/reads, continuous refresh load) to separate firmware vs. hardware issues and prioritize fixes by likelihood and cost.
Key summary
- The NT6TL128M32BQ-G0 is a 4Gb LPDDR2-class device; prioritize correct VDD/VDDQ rails and decoupling to prevent brown-in or instability during bring-up.
- Pinout grouping (power, CA, DQ, DQS, CK, control) simplifies schematic naming and layout—ensure DQ/DQS matching and minimal vias for signal integrity.
- AC timing (tRCD/tRP/tRAS, CAS, DQS alignment) drives controller settings; verify with oscilloscope checks and follow datasheet timing budgets for reliable operation.
Common questions about NT6TL128M32BQ-G0 integration
What are the essential power-sequencing steps for NT6TL128M32BQ-G0?
Follow the datasheet-prescribed order: bring VDD and VDDQ to nominal with controlled slew, wait the specified tPOR before applying RESET# or clock. Verify voltages and currents at each stage, and allow the minimum delay before first memory access to avoid latch-up or undefined states.
How should I verify DQS alignment and timing on bench?
Use a high-speed oscilloscope and differential probes to capture DQS, DQ, and CK. Check that DQS centers the data eye and that capture edges meet the setup/hold margins. Validate timing against the datasheet's tSU/tH windows and perform eye-diagram sweeps at target data rates.
Which layout practices most often fix intermittent memory errors?
Match DQ/DQS lengths within the specified skew, use controlled-impedance routing, minimize vias on critical data paths, provide dedicated power planes with targeted decoupling, and avoid cross-over of high-speed return paths. These changes commonly resolve timing and signal-integrity failures.
What are the typical voltage levels and temperature tolerances for NT6TL128M32BQ-G0?
The nominal operating voltage is 1.2V for both VDD (core) and VDDQ (I/O) domains. The standard commercial temperature tolerance ranges from −25°C to +85°C. Ensure proper thermal dissipation and voltage headroom margin are evaluated during hardware bring-up.
Summary: The NT6TL128M32BQ-G0 is a 4Gb mobile LPDDR2-class device whose reliable integration depends on obeying datasheet electrical and timing limits, careful pinout-aware footprint design, and correct power-sequencing. Download the official datasheet PDF and verify the NT6TL128M32BQ-G0 pinout and variant tables during final layout review.